Puffy cheese pastries don’t make the cut
Published 2:07 pm Monday, October 24, 2016
If you read my article last week, you know today I’m sharing a second recipe I prepared for our Sunday School class.
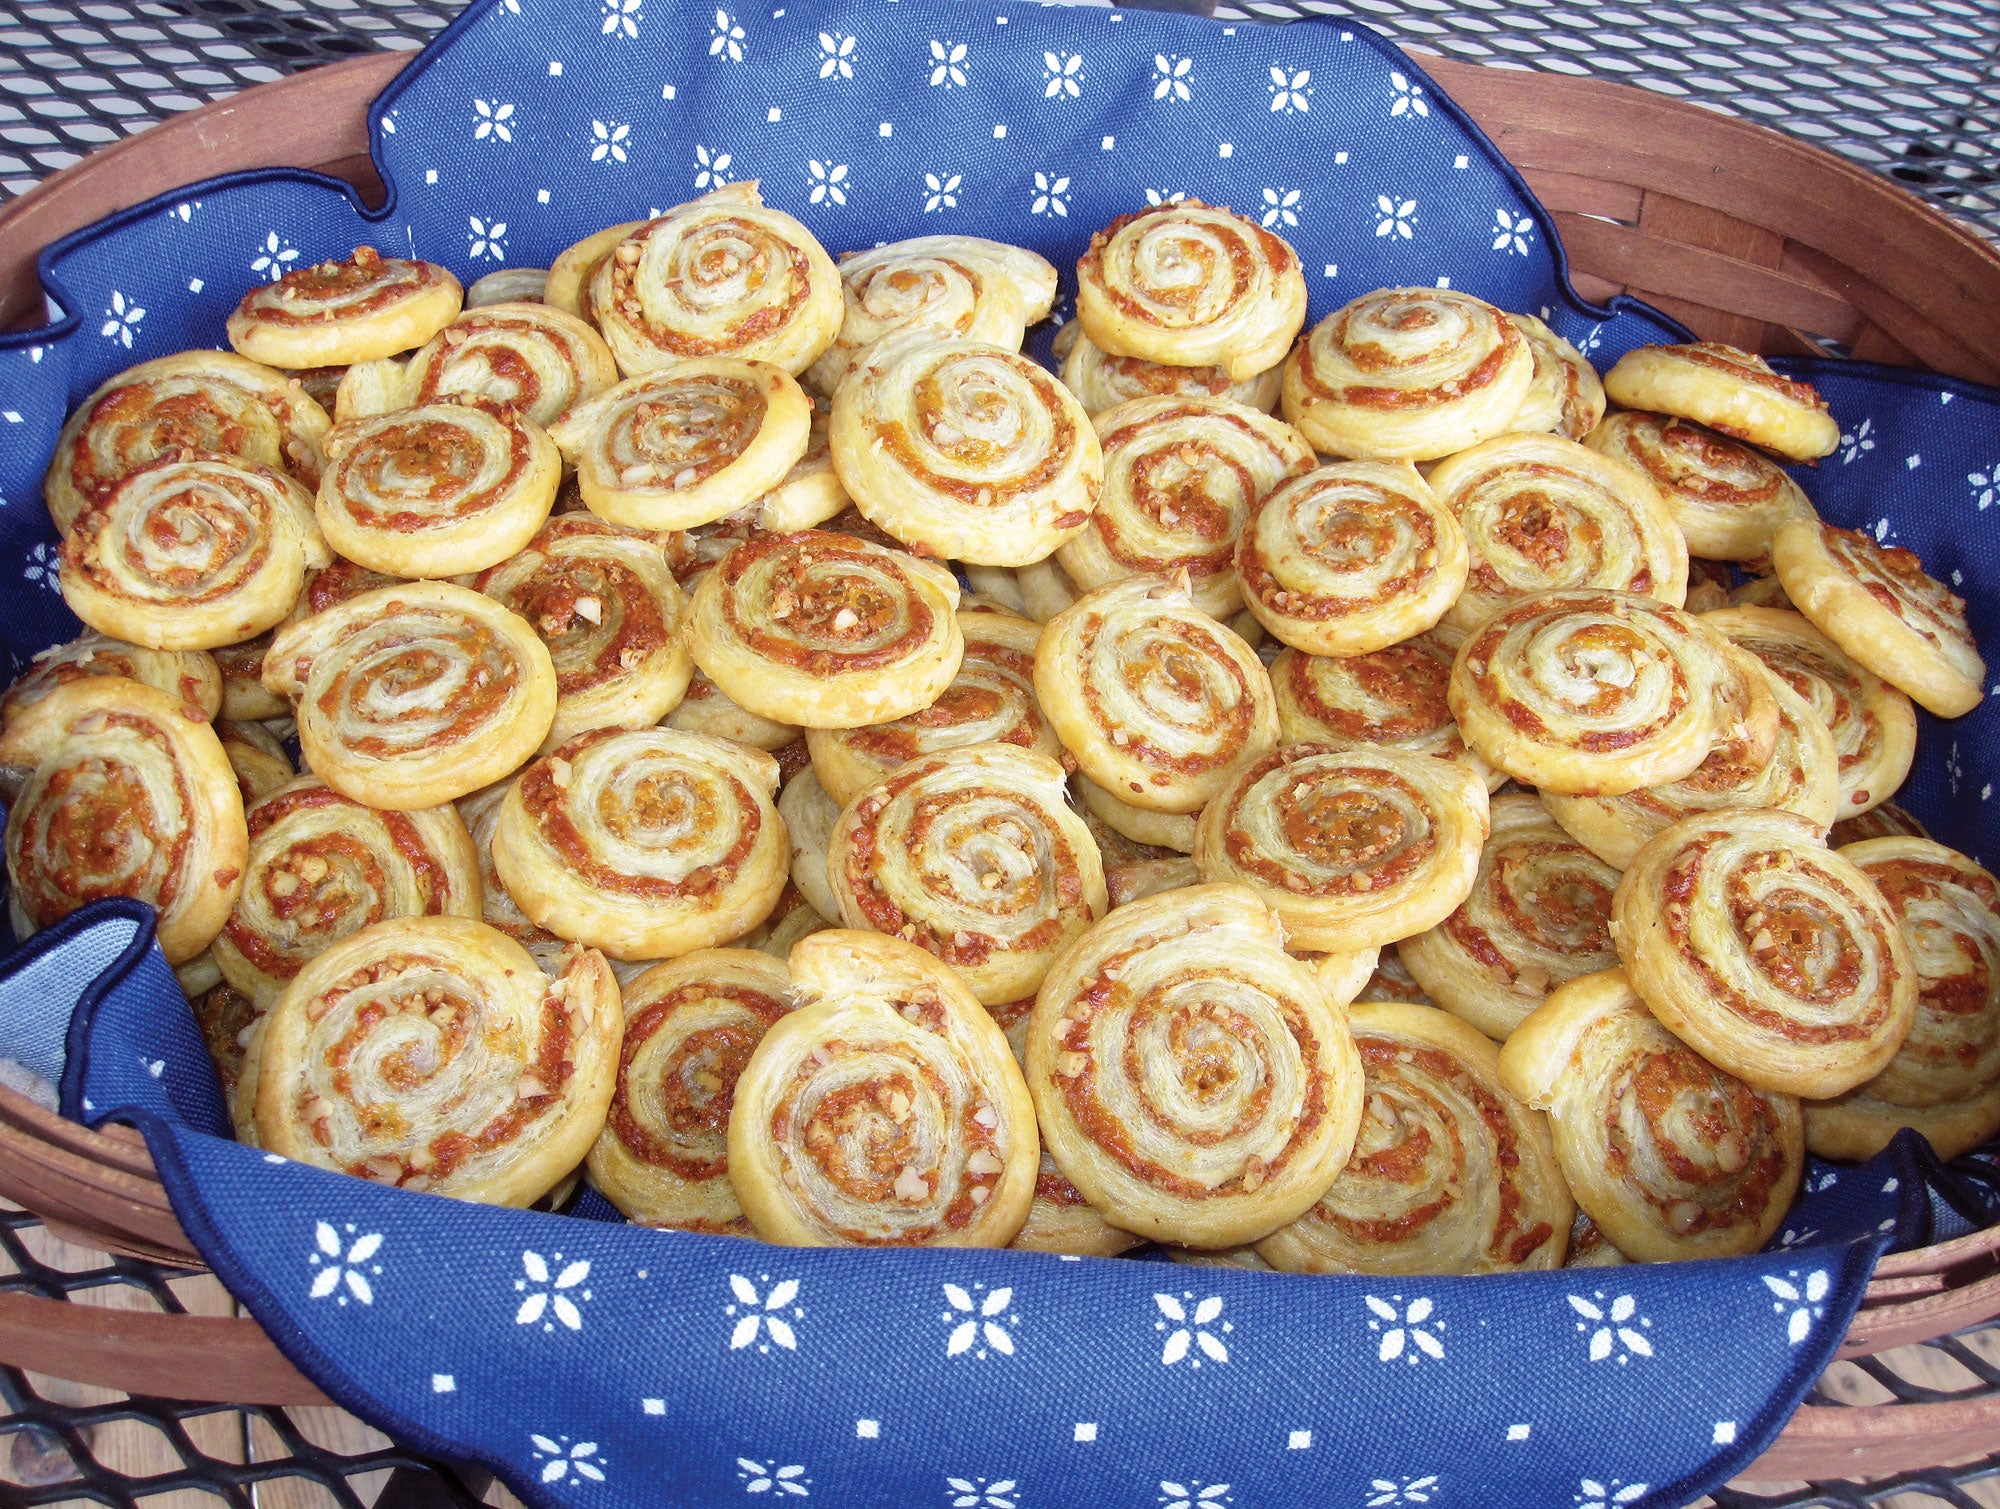
Last week, I told you about the sweet treat I took and today, I’m sharing the recipe for “Puffy Cheese Pastries” I prepared.
I found the recipe in the November/December 2010 issue of “Paula Deen Magazine.”
The photo in the magazine made them look great, of course, and in the photo, each pastry appeared to be about three inches around.
Here’s the recipe:
— 1 cups shredded cheddar cheese
— 1 cup shredded parmesan cheese
— 1 cup finely chopped pecans
— 2 teaspoons smoked paprika
— 2 (17.3 oz.) boxes of frozen puff pastry, thawed
— 1 large egg, lightly beaten
In a medium bowl, combine cheeses, pecans and paprika.
On a lightly-floured surface, roll out each sheet of puff pastry into a 12×10 inch rectangle.
Brush each with lightly beaten egg.
Sprinkle cheese mixture evenly over each rectangle, leaving a half-inch border.
Roll up pastry jelly-roll fashion, beginning with the long side and the pressing edges to seal.
Wrap each roll in heavy-duty plastic wrap, and refrigerate for at least an hour or up to two days.
Preheat oven to 425 degrees.
Line baking sheets with parchment paper.
Unwrap the rolls, and cut into quarter-inch thick slices.
Place on prepared baking sheets and bake for 8 to 10 minutes or until golden brown.
Let them cool on pans for about two minutes. Remove from pans and cool on wire racks.
Serve warm or at room temperature.
When I first read this recipe, I was trying to decide if I should put everything together the night before or just get up a little early Sunday morning and get started.
After reading the recipe about three times, I realized the pastries needed to be placed in the refrigerator for at least an hour before baking, so I opted to get them ready Saturday night — it was about 8:30 p.m. when I started on this.
I’d been to the grocery Saturday morning and I knew what I was going to make for our class, so I opted to buy shredded cheddar cheese to make things easier.
I decided to buy a block of parmesan and shred it myself because it was cheaper.
I’ve got a Zyliss cheese grater — you know one with a handle that you turn and the cheese comes out one end finely grated, just like at Italian restaurants — and used it to finely shred the parmesan.
Chopping the pecans was a breeze using my food chopper.
I did not have smoked paprika so I just used regular paprika.
I mixed all of this in a small bowl and set it aside while I rolled out the four puff pastry sheets.
It took the entire beaten egg to cover all four pastry sheets.
I then divided the cheese mixture and spread it equally on the four puff pastry sheets.
To me, it didn’t look like there was much filling compared to the amount of puff pastry I was using, but that’s what the recipe called for, and typically, the first time I make something, I like to go exactly by the recipe.
I then rolled each puff pastry sheet up jelly-roll style, wrapped each of them in plastic wrap, and set them in the refrigerator to rest overnight.
Sunday morning I got up, turned on both of my ovens, and then started to get ready for church. Feeling confident I could get the pastries done using both of my ovens, I lined two cookie sheets with parchment paper and started slicing the rolls of pastry.
The recipe said to slice the logs into quarter-inch thick slices, this seemed pretty skinny to me, but that’s what the recipe called for.
The diameter of each was pretty small, but I figured puff pastry would puff up when it baked and they would be ok.
Each roll made right at 25 pastries.
I was able to fit one roll of the sliced pastries on each baking sheet and used each baking sheet twice (no, I did not change the parchment paper after the first batch baked).
Ten minute was not enough time in my ovens to get the pastries lightly brown, so I had to bake each sheet of pastries longer than recommended. Each pan baked 13-14 minutes in my ovens.
To my disappointment, the puff pastry didn’t puff up and make large pastries.
All of them were about the size of a 50 cent piece (Do you remember 50 cent pieces?).
I pulled the last pan out of the oven just as we needed to leave for church.
To keep the pastries warm, I placed a heated Longaberger “brick” in the bottom of a basket and then covered the brick with a couple of cloth napkins.
Since I don’t like cheese, I had Brad try one of these little pastries when they came out of the oven.
His first comment was they were okay. He said the first bite was good, but the second bite was pretty “blah.”
I asked him what he thought they needed and he said “bacon.”
I’m not sure what I would have done if he had said they weren’t any good since we were headed out the door.
Members of our Sunday School class served themselves and I let them know I needed their opinion about this breakfast dish.
I didn’t get any negative comments and several people gave me the thumbs up, a few mentioned the puff pastries were missing a little something and I said “bacon?” and they said yes, bacon would make them better.
There were a few puff pastries leftover so Brad and I both took some to work.
One of Brad’s co-workers, Tina, loved them and asked for the recipe. My co-workers were in agreement with Brad that they were OK, but lacking something.
Finally, I gave in and decided to try one, even though I don’t like cheese.
My opinion is that there was too much puff pastry and not enough filling. If I ever made these again — and I won’t — I would only use two or three sheets of puff pastry so you could taste the cheese filling and it would be the star of the dish.
Also, I would not roll the puff pastry out, I would just unfold it and use it.
Thinking about it, I believe I nailed this recipe, but overall I’m going to call it a failure due to the lack of flavor.
Though Tina has gotten a copy of the “Puffy Cheese Pastries” recipe, it’s not going to be added to my self-made cookbook.
Now as a follow up to one of my previous articles: The other night as we were preparing to eat supper the phone rang. I assumed it was a telemarketer because that’s who usually calls at that time, but to my surprise, it was a very sweet lady calling to let me know how much she enjoys readying my articles.
During our conversation, she mentioned that she had a real easy recipe for lemon curd that she cut out of the Herald-Leader some time ago.
Her recipe cooks in the microwave instead of on the stove and though I haven’t tried it yet I thought I’d share it with everyone:
— 8 tablespoons unsalted butter
— 3 large eggs
— 1 cup granulated sugar
— grated peel of 3 large lemons
— half cup fresh lemon juice
In a microwave-safe bowl, microwave the butter melted.
In a small microwave-safe bowl, whisk together the eggs, sugar, lemon peel and juice until well combined.Whisk in the melted butter.
Microwave on high for 1 1/2 to 2 minutes, whisking often, until the curd is smooth and thick enough to coat a wooden spoon.
Remove from the microwave oven and pour into hot, sterilized jars.
Cover and allow to cool at room temperature. Store in the refrigerator and use within four weeks. Makes about two cups.
Thank you, Thelma Adams for sharing, and thank you for your kind words of encouragement and support.